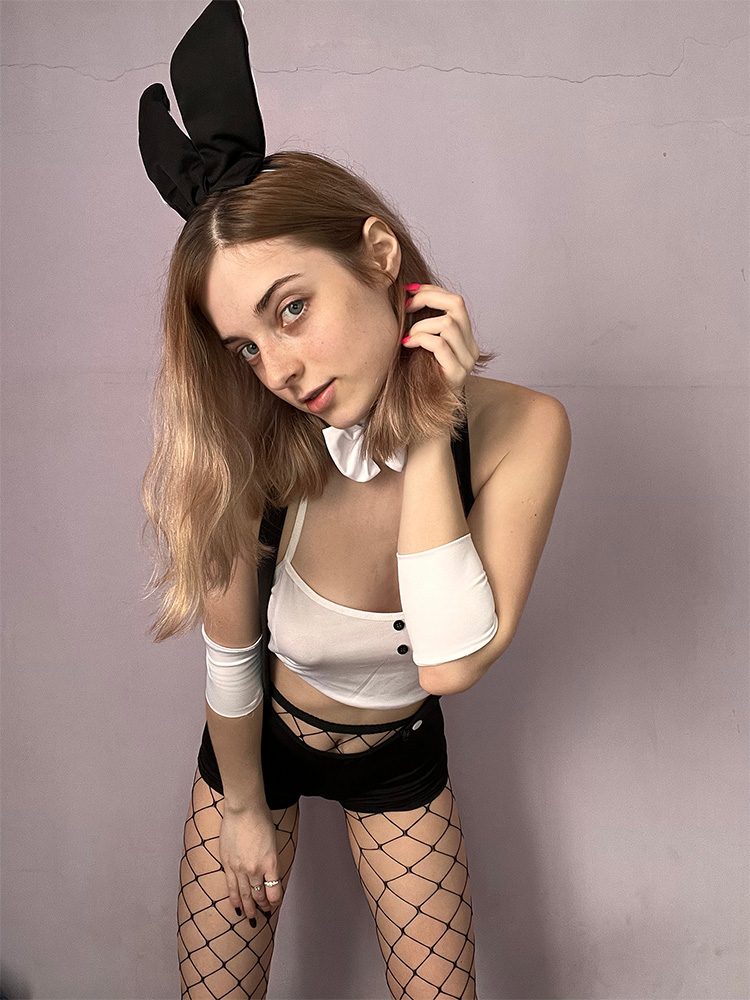
Katrin Bunny Girl Photoshop / Photo Editing Project
The photo above was a one-off edit for the lady in question. While they may appear subtle, the changes are pretty substantial, but they help bring a cleaner, more cohesive look to the photo while being mindful not to lose the model's natural beauty. There is a fine line between improving or destroying an image, especially when a subject is a person.
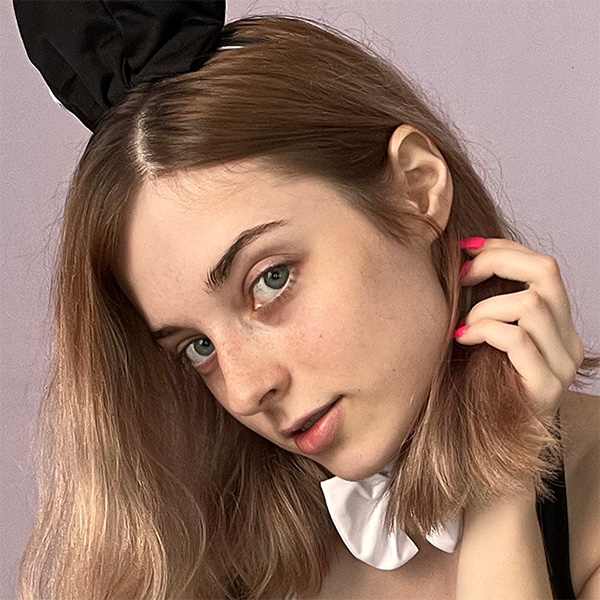
Firstly I removed minor blemishes, mainly from the face but also some on the arms and chest. Some photo artists frown upon freckles; unless told to remove them, I always keep them. Freckles are beautiful and not something to be erased!
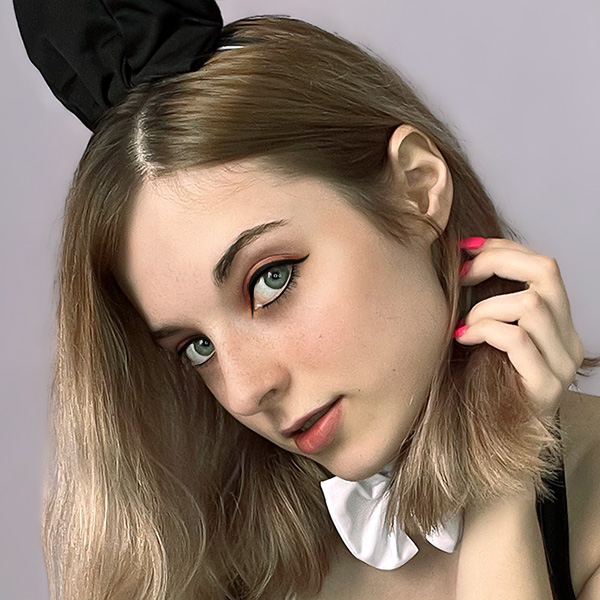
Katrin captured the original photo under artificial light, which cast a yellow haze over the entire image. You can see it in the slightly jaundiced skin tone, Katrin's white top, the white of her eyes, and the wall behind her. I fixed the white balance and some color balance issues to produce a more natural and accurate skin tone.
Another subtle but significant change was some contouring of the face, purely using light. Highlighting or darkening specific areas helps to bring focus to features of the face that the camera may have missed. In this photo, a few examples would be the nose and the cheek. Lightening the top surface of the nose while at the same time darkening the side closest to the eye gives the appearance that the nose is thinner.
Similarly, lightening the cheekbone while darkening the soft tissue just below helps accentuate the cheekbone.
Perhaps the most noticeable difference between the original photo and my edited version is the addition of "digital" makeup because, in the original photo, Katrin is not wearing any makeup. In the edited version, I applied eye shadow, eyeliner, a slight blush on the cheeks, a subtle lipstick, and ever so slightly darkened the eyebrows.
Contouring using light and color in Photoshop is the digital equivalent of what makeup artists do in the real world; There is certainly an art to it, that's for sure!